Validating sender email using DKIM authentication
What is DKIM?
DomainKeys Identified Mail (DKIM) is an advanced authentication method used widely by email service providers to verify the email from the point of its origin by validating the email sender. It allows the email senders to authenticate their emails by including a digital signature in the email header and checks emails to rule out any possibility of spamming or spoofing thereby protecting the sender's reputation. DKIM further ensures that email messages would get delivered to the inbox of its intended recipient because the validity of the email message has already been verified.
This can be done by publishing the TXT record in your domain's DNS settings.
Its specific purpose is to:
- Check if the email messages were sent from a valid source.
- Check if the email messages were not tampered with in transit.
Generate DKIM record for StatusIQ
Follow the below steps to generate a DKIM record:
- Log in to Site24x7's StatusIQ.
- Navigate to Customize > Customize Email.
- Provide your email address in the Send From Email Address field and click Save Changes.
- A verification mail is sent to the email address given in the Send From section. Click Verify.
- In the DKIM verification for Sender Email section, copy the TXT Value and to configure the DKIM record for your domain. To learn more, click here.
Note: DNS setup usually updates within 24-48 hours. If your DKIM record verification is failed, click the link given in the DKIM Status section.

If a DKIM record remains unverified for more than 60 days, we'll clear the existing record and generate a new one. Please update the new DKIM record on your end to complete the verification process.
Once the DKIM verification is done, please ensure you retain your DNS record to keep receiving emails from the customized sender address. If you do not retain the DNS record, the emails will be sent from
Set up DKIM text records for your domain
Contact your domain-hosting provider's administrator to help you set up the text records. Alternatively, you can also contact your system administrator/network administrator to configure the DKIM records for your domain in the DNS settings page. Below, we’ve provided the set up steps for some of the commonly-used domain-hosting providers.
GoDaddy
To add the DKIM record for your domain in GoDaddy, follow these steps:
1. Login to GoDaddy account.
2. From the Navigation toolbar, choose domains.
3. Search for your domain to add the DKIM record.
4. Under Records section, click ADD.
5. Enter the following information:
- Type: Select TXT as the type of record to be added.
- Host: Enter the domain name.
- TXT Value: Paste the DKIM record details provided by Site24x7.
- TTL: Enter how long the server should take to cache the information.

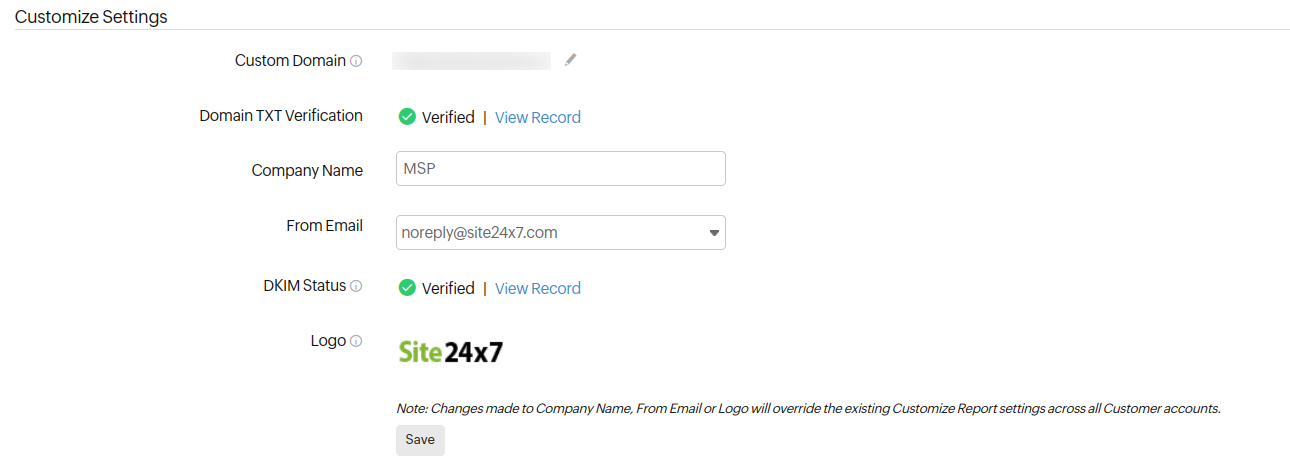
To get the domain verification key, go to the My Accounts page of your MSP account, click the View Record link in the Domain TXT Verification field, copy the key from the pop-up, and paste it into the TXT Value field.
6. Click Save.
HostGator
To add the DKIM record for your domain in HostGator, follow these steps:
1. Login to your HostGator account.
2. From the Navigation toolbar, choose Manage Orders and click List/Search Orders.
3. Click your domain from the list displayed.
4. Under DNS Management section, click Manage DNS.
5. Click Add TXT Record button.
6. Enter the following information:
- Host Name: Enter the domain name.
- Value: Paste the DKIM record details provided by Site24x7.
- TTL: Enter how long the server should take to cache the information.
7. Click Add Record.
DMARC check includes DKIM alignment. Complying with DMARC policy tells the recipient systems that the email sender has done something that only an authentic sender can do: align the DKIM domain with the “From” domain that the recipient sees. So, if you have DKIM authentication, you will successfully pass the DMARC check, which won't affect your email deliverability. If you don't have DKIM authentication, the DKIM alignment will fail, and your email won't pass the DMARC check. Site24x7 recommends that you authenticate your domain with DKIM to pass DMARC and improve your email deliverability.
Related Articles
The sender IDs of various SMS and voice call providers
In Site24x7, you can configure alerts via SMS, voice calls, and email. The sender IDs used for SMS and voice calls may vary based on the geographical location of the associated data center (DC). The table below lists the sender IDs for voice calls ...Customize the 'From' email address for the alert emails received from Site24x7
Alert emails from Site24x7, by default, will be sent from "noreply@site24x7.com" Users can customize the sender email address by logging in and navigating to Admin > Report Settings > Customize Report > Sender Email Address. Here, you can see a ...Secure my Site24x7 account using Two Factor Authentication
The Two-Factor Authentication (TFA) is a two-step verification process before you are authorized to log in to your Site24x7 account. It provides an additional layer of security to your Site24x7 login process. At the organization level, Log in to your ...For recording websites with basic authentication using Web Transaction (Browser)
In Firefox, every time we access a website that requires basic authentication, the authentication information that we provide is stored in the browser profile. So, if you open the page again in the same browser, it will use the basic authentication ...How can an administrator change the email address of the Site24x7 account
Please follow the below steps: Sign in to your Site24x7 account Click My Account from the pull-down menu at the top right Click Change Email Address from the options given below You will be taken to accounts.zoho.com In the Zoho Accounts page, click ...