SysAdmin's guide to migrating from CentOS
 CentOS EOL - Are you affected?
CentOS used to be community driven. Imagine an OS being tested by a global community of volunteers against a testing team in a company—that gave CentOS unmatched stability. An OS that came with Security-Enhanced Linux (SELinux) by default and also included 10-year support meant it was the favorite of both individual developers and enterprises as well (even Facebook, now known as Meta, used CentOS for its data centers).
Now that we have covered the positives about CentOS, here comes the sad part: CentOS EOL is happening on June 30, 2024.
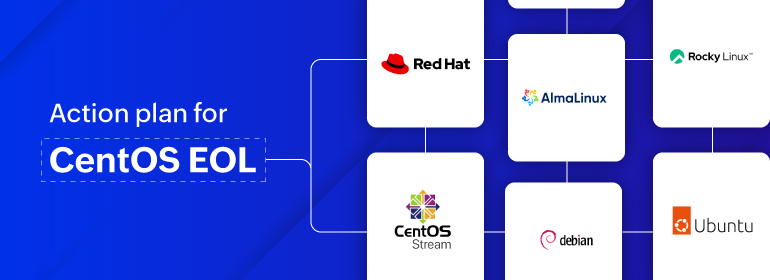
Keeping the advantages of CentOS in mind, the replacement OS should ideally contain all of these features, or at least most of them. Following is a list of CentOS alternatives for you to evaluate as per your requirements, and also a guide for OS migration at the organization level.
Step 1: Evaluate alternatives
Here is a list of CentOS alternatives to get you started. We have also provided key pointers to keep in mind while considering each alternative.
- RHEL
- Excellent support for migration
- SELinux platform
- Paid support
- Extensive documentation
- CentOS Stream
- The closest to CentOS, being built by the same team
- Not many changes required in current infrastructure, so the migration will be simpler
- Rolling-release distribution, which comes at the cost of stability
- RedHat has explicitly announced that this platform is not intended for production purposes
- AlmaLinux
- The 9 series is targeted at CentOS users, offering the most compatibility (subjective)
- Debian
- Stable
- Open source
- A SysAdmin community favorite
- Ubuntu
- Not much different from Debian
- Rocky
- Preferred choice for those who like RedHat's distribution style
- Newest to the group
Step 2: Identify how many servers are impacted
An average enterprise runs thousands of servers. Your next step should be to identify how many servers run on CentOS. If you have a thorough inventory or documentation, this should be a piece of cake; for others, it is going to take up a chunk of your day. Check if your IT infrastructure monitoring tool provides a built-in inventory report (like Site24x7 does). There, you can see which servers run on CentOS and the OS version number. As an added advantage, you can also keep an eye on any other servers approaching OS EOL.
Step 3: Evaluate dependencies
Ask the most important questions:
- Are my applications compatible with the new OS?
- Are there any dependencies on other servers and applications?
- How much downtime are we expecting?
Most application vendors are aware of CentOS EOL and have released the latest versions, made compatible with most other Linux flavors. Proceed to step 4 after getting a definite answer to the above questions.
Step 4: Back up data
Sysadmin 101 says always have backups, especially if you are playing with something as important as OS migration. Make sure your data, configurations, and applications are all backed up to the latest version before implementing a CentOS replacement
Step 5: Test the waters
Run your test environments to check the compatibility of your applications and make changes, then test again. Repeat until there are no unwanted surprises. If you skip this step, you will have a beautiful chaos engineering scenario on your hands.
Step 6: Stage changes
Migrate the least critical systems first. Follow this with the next least critical system up until the most critical system. Be optimistic that everything will go well, but be prepared when things don't go well—that is when your backups will help. This is just one more good reason not to wait until the CentOS EOL date to make changes to your environment.
Step 7: Implement server-level changes
Once your test environment and production environment both work well, configure firewalls, enter proxy credentials (if applicable), and update network details.
Step 8: Document all changes
Document all the changes. Record all system changes, configuration changes, and application changes, up to the level of the physical location of your on-premises servers.
Step 9: Monitor
No system is fool-proof. Enable monitoring for your server performance, processes, and cron jobs.
What's next for you?
It's great that you have built a great IT infrastructure. But with a great server setup comes great responsibilities. Anything from a volcanic eruption near a data center to a cute little squirrel chewing a fiber cable means only one thing: an outage.
Outages happen. Now you have to ask, where is the impact? Is it just one server or multiple, dependent servers? Or is it a dependent process on a different server? Know the answers to all these questions and even more with Site24x7's Linux server monitoring solution. It is fast, reliable, robust, and scalable, and you don't have to take just our word for that. Try Site24x7's server monitoring now.
Topic Participants
Geoffrin Edwin